Send Music Files with Windows Nearby Sharing
At a glance
Learn how to send music files directly between two Windows PCs using Nearby Sharing over Bluetooth or Wi-Fi. This guide explains setup, permissions, saving options, and how it compares to other sharing tools, with a detailed example.
In this guide
- Overview: local music file sharing between Windows PCs
- System and version requirements
- Step-by-step: enabling Nearby Sharing on both PCs
- How to send a music file with Nearby Sharing
- Receiving, verifying, and saving the shared file
- Troubleshooting and common questions
- Alternatives and related topics
- What to try next
Overview: local music file sharing between Windows PCs
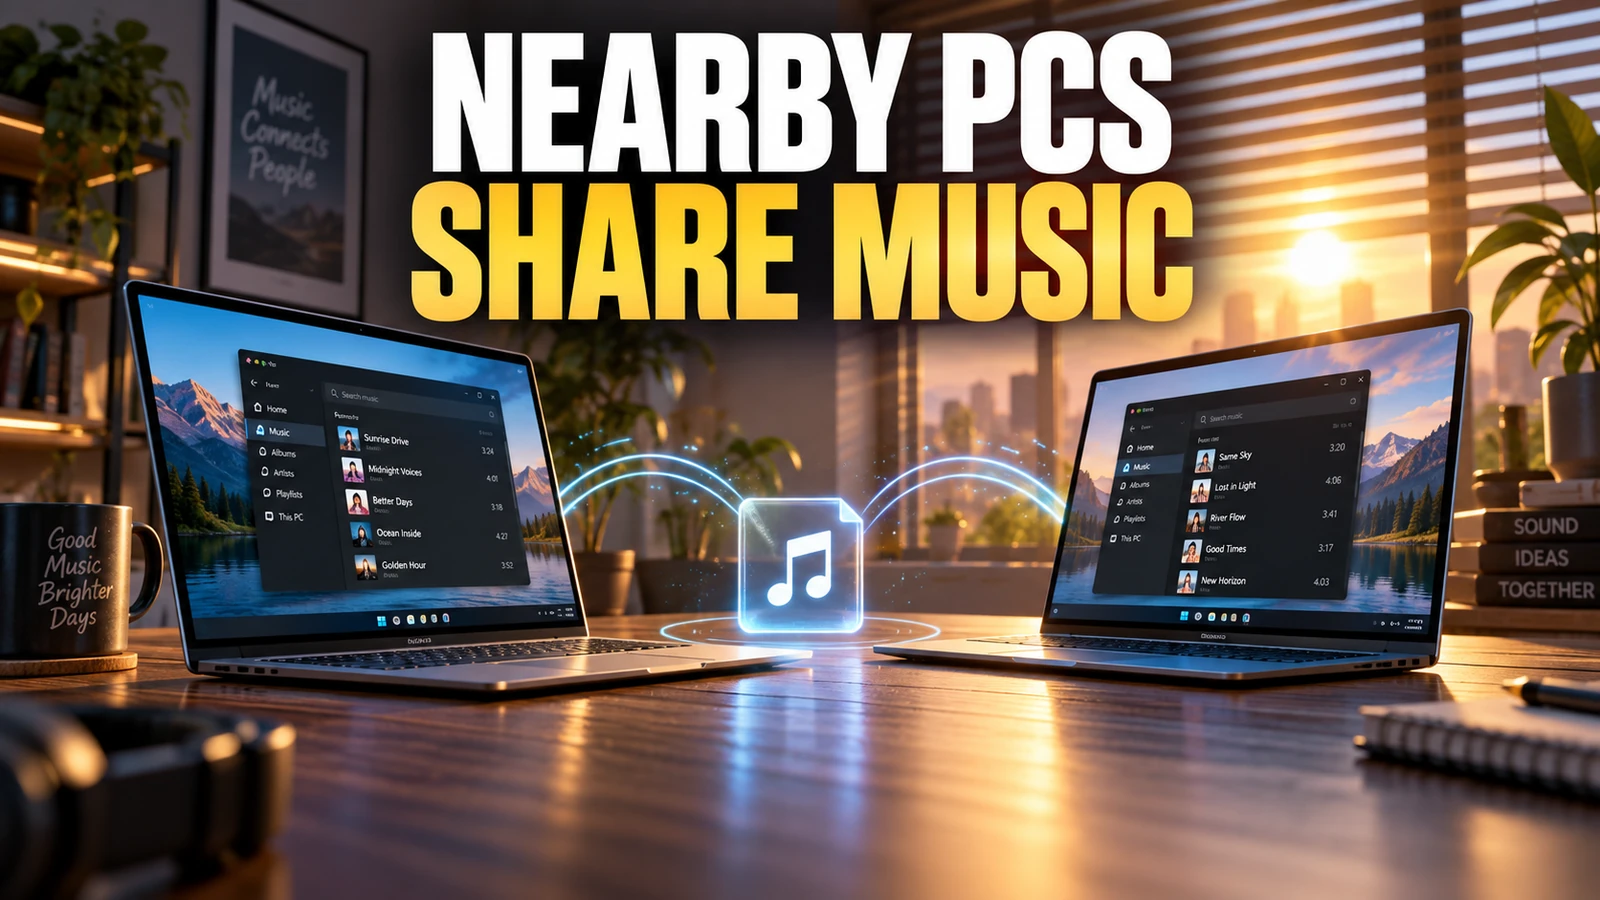
Want to send an MP3 from your laptop to a friend’s PC in the same room, without using USB drives, email, or cloud uploads? Nearby sharing in Windows 10 and Windows 11 lets you wirelessly share music files between supported PCs. This feature uses Bluetooth or Wi-Fi direct connections for local transfers. You can expect a secure, peer-to-peer exchange: the sender initiates, the receiver approves, and both can quickly check where the file is saved. Unlike Android Quick Share or Apple AirDrop, this is strictly for Windows-to-Windows use (official Windows guidance).
System and version requirements
- Both PCs must run Windows 10 (version 1803 or later) or Windows 11.
- Sharing transfers over Wi-Fi require both devices to be connected to the same private Wi-Fi network (Windows 11 has the most flexibility).
- If Wi-Fi isn’t available, Bluetooth is used - ensure both devices have Bluetooth enabled and are within range (typically under 30 feet/10 meters).
- Nearby sharing is not compatible with Android or Apple devices. For sharing with Apple, see Transfer MP3 Files Between Apple Devices with AirDrop; for Android, see Send Local Music Files with Android Quick Share.
Step-by-step: enabling Nearby Sharing on both PCs
- Open Settings on both devices:
- Windows 11: Select Start → Settings → System → Nearby sharing.
- Windows 10: Select Start → Settings → System → Shared experiences.
- Set Nearby sharing to either Everyone nearby (for sharing with any device nearby) or My devices only (for devices signed in with the same Microsoft account).
- Choosing Everyone nearby makes your PC visible to other Windows devices in the area; choose wisely in public spaces.
- (Optional) To control where received files are stored, select Change next to Save files I receive to and select your preferred folder.
How to send a music file with Nearby Sharing
- On the sender’s PC, locate your music file in File Explorer.
- Either:
- Select the file and click Share on the toolbar, or
- Right-click the file and select Share from the context menu.
- Wait for Windows to scan for nearby devices with sharing enabled. Select your recipient’s PC from the list.
- On the receiving PC, a banner notification will appear. The recipient must choose Save & open or Save to allow the transfer and specify what to do next.
- The file will transfer immediately. Both users can see the file’s save location (by default, the Downloads folder unless changed).
Example: Suppose Alex wants to share a new MP3 with Sam at home. Both enable Nearby Sharing, Alex right-clicks the track in File Explorer and selects Share. Sam sees a notification, clicks ‘Save & open’ - the song lands in their Downloads.
Receiving, verifying, and saving the shared file
- When a file is sent, the receiving user must approve by clicking Save (or Save & open) in the notification popup.
- The file is never overwritten automatically: if a file with the same name already exists in the destination folder, Windows adds a number (e.g.,
track (1).mp3). - Once saved, the receiver can review or move the file wherever they wish. To confirm the transfer, open the folder, check the file’s timestamp, and play a few seconds of the track if desired.
- If notifications are missed, users can open the default save location to find the newly received file.
Troubleshooting and common questions
- Can’t find another device? Ensure both PCs meet the system requirements, have Bluetooth (or are on the same Wi-Fi), and are set to discoverable in Nearby Sharing settings.
- No notification appears? Check notification settings, ensure Nearby Sharing is enabled, and that the device is not set to Focus Assist or ‘Do not disturb’ mode.
- Accidental rejection? If the recipient clicks ‘Decline’ or misses the request, simply resend the file.
- Where did my file go? Check the folder set in Settings → System → Nearby sharing (or Shared experiences in Windows 10). By default, it’s the Downloads folder.
- Want to change the save location for received files? Use the Nearby Sharing settings menu to choose any folder you like, before sending or after receiving.
- Public place security note: If you select ‘Everyone nearby,’ your PC name and Bluetooth MAC address are available to nearby devices. Use discretion in coffee shops or libraries.
Alternatives and related topics
Nearby Sharing excels for quick, local transfers between Windows 10/11 PCs. It is not a cross-platform solution (see Android Quick Share for Android, AirDrop for Apple). For moving music for car listening or burning discs, see Audio CD or MP3 Disc: Which Should You Burn?. For a cross-ecosystem approach, cloud services (like OneDrive or Google Drive) allow sharing with more devices, but are slower and require uploads.
What to try next
Test Nearby Sharing by sharing a single MP3 file to a family member’s Windows PC on your Wi-Fi. Confirm the transfer on the receiving computer, and note the save location and any prompts, before using it for larger batches. That way, you can confirm compatibility and settings on your specific devices. More official details here.