Change Song Tempo Without Changing Key in Audacity 3
At a glance
This guide explains how to permanently change a song's tempo in Audacity 3 without altering its pitch. It breaks down the relationship between percentage, BPM, and time, covers potential artifacts, offers step-by-step instructions, and advises on verification before batch editing. Includes a practical, fictional example and internal links for more Audacity tips.
In this guide
- Understanding tempo, BPM, and time duration
- Steps to change tempo without affecting pitch in Audacity 3
- How tempo changes affect time duration
- Artifacts and audio quality considerations
- Checking results and safe editing workflow
- What to do if results aren’t satisfactory
- Where to learn more and related Audacity techniques
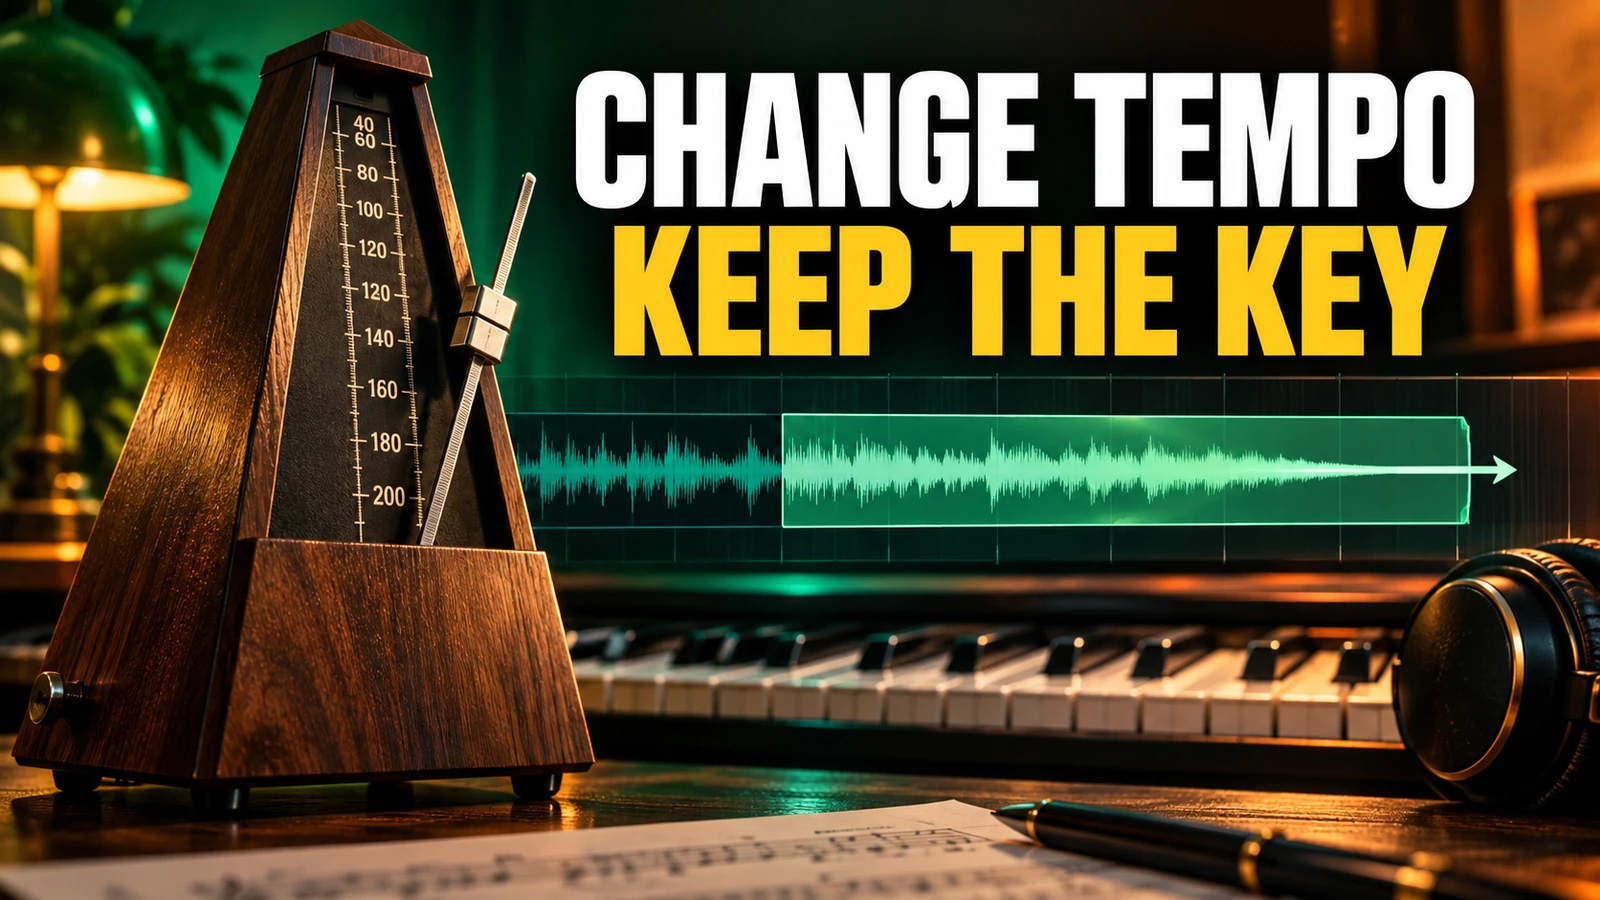
Changing a song’s tempo without altering its key is a common task in music editing, whether you’re preparing tracks for a dance class, adjusting background music timing, or remixing. In Audacity 3, the “Change Tempo” effect lets you speed up or slow down your audio permanently - unlike simple playback rate controls found in players like VLC - while keeping the original pitch intact. Here’s how you can approach the process, what to expect in terms of time and quality, and how to test results before making irreversible changes.
Understanding tempo, BPM, and time duration
Tempo in music is generally measured in beats per minute (BPM). Changing the tempo alters the rate of beats without affecting the musical key, which different from simply changing the playback speed. In Audacity, you can specify how much you want to adjust the tempo by using a percentage value, direct BPM entry, or by targeting a new exact length for your audio.
- Percent Change: Enter a percentage - positive to increase tempo (audio becomes shorter), negative to decrease tempo (audio becomes longer). For example, +10% makes a 100 BPM track 110 BPM and shortens its duration by 10%.
- BPM Conversion: If your track starts at 120 BPM and you want it at 100 BPM, enter those values and Audacity calculates the necessary change automatically.
- Length Adjustment: Enter a target duration for your selection if you need the audio to fit a specific time window.
The three input boxes in Audacity’s effect dialog are interconnected - changing one updates the others, making it easier to work to your musical or timing needs. For details, see the official Audacity manual.
Steps to change tempo without affecting pitch in Audacity 3
- Open your project and select the region or track you wish to edit.
- Go to Effect > Pitch and Tempo > Change Tempo.
- Decide how you want to set your change:
- Use Percent Change slider or box for a rough adjustment.
- Enter the From and To BPM for precise musical targets.
- Input the To length if working to a timed slot (the From box displays current length).
- Decide whether to check “Use high quality stretching (slow)”. This uses Audacity’s SBSMS algorithm for better sound, especially on percussive tracks, but takes more time to process. For large changes, note the limits below.
- Click Preview to listen to a short section and check for obvious artifacts or timing issues.
- Apply the effect. After processing, listen through the edited section thoroughly.
- Export a small test copy before applying to the full track, especially for batch edits.
Example:
Sara wants to slow a 110 BPM pop song down to 100 BPM for her dance recital. She opens the track, selects all, and chooses Effect > Pitch and Tempo > Change Tempo. Entering "From BPM: 110" and "To BPM: 100", she enables high quality stretching because the song has rhythmic piano parts. After previewing and applying, she exports a test portion, listens for echo or distortion, and finds it sounds natural. Only then does she process and export the entire song.
How tempo changes affect time duration
Tempo and audio duration have an inverse relationship: Increasing tempo shortens duration, decreasing tempo lengthens it. For example, increasing tempo by 20% shortens a three-minute song by about 36 seconds. Audacity shows the current and target length, updating these as you adjust the percentage or BPM boxes.
If your final audio must fit an exact time (for a soundtrack or ad slot), set the target length in the dialog; Audacity updates the necessary tempo shift automatically.
Artifacts and audio quality considerations
As with all time-stretching technology, you may hear artifacts - unwanted changes introduced by the algorithm, especially at extreme tempo changes. Common artifact symptoms:
- Echo or muddiness, especially when slowing percussive tracks with the default algorithm.
- Missing audio or short silences at track ends when slowing tempo using the fast algorithm.
- Severe distortions or graininess when making very large tempo changes, even with high quality stretching.
For modest changes, enabling high quality stretching improves results on most music. For extreme slowing (beyond 50%), use Audacity’s Paulstretch effect as recommended by the official documentation.
Checking results and safe editing workflow
Always preview changes within Audacity before exporting. If you’re batch-editing multiple files, process and listen to a short segment of one file to check for quality issues and timing accuracy. After applying the tempo change to a test copy, listen for:
- Unnatural stretching or contraction of instruments or vocals.
- Sudden silences at the start or end.
- Distortion, particularly with aggressive tempo changes.
Once satisfied, proceed to apply and export (File > Export) your permanent edits to the actual or batch files. Remember, this isn’t a reversible playback tweak - your audio is changed permanently.
What to do if results aren’t satisfactory
If you encounter unacceptable audio artifacts, try these approaches:
- Enable or disable high quality stretching to compare results.
- Limit the tempo shift to smaller increments and process more than once, if project timing allows.
- For extreme slow-downs, experiment with Audacity’s Paulstretch effect (see Effect > Paulstretch for super-slow creative edits).
- Check your selection: make sure only the intended audio is selected to avoid surprise splits or omitted sections.
Review exported files using both headphones and speakers, to catch subtle distortion or phase artifacts.
Where to learn more and related Audacity techniques
If your mix also needs other refinements, you might check how to adjust the stereo pan in Audacity 3 or read a music spectrogram to analyze results visually. Each task builds a more professional, customized workflow for your unique project.
Ready to try? Make a duplicate of your source audio, open Audacity 3, and experiment with the Change Tempo effect on a short clip to evaluate your project's needs.