Check and Remove DC Offset in Audacity 3
At a glance
This article explains how to check and remove DC offset in Audacity 3 using the Normalize effect. You’ll find step-by-step advice for identifying offset in your audio, applying the correct settings, and understanding potential limitations. Includes a realistic example and helpful cross-links for further audio analysis and editing tips.
In this guide
What is DC offset?
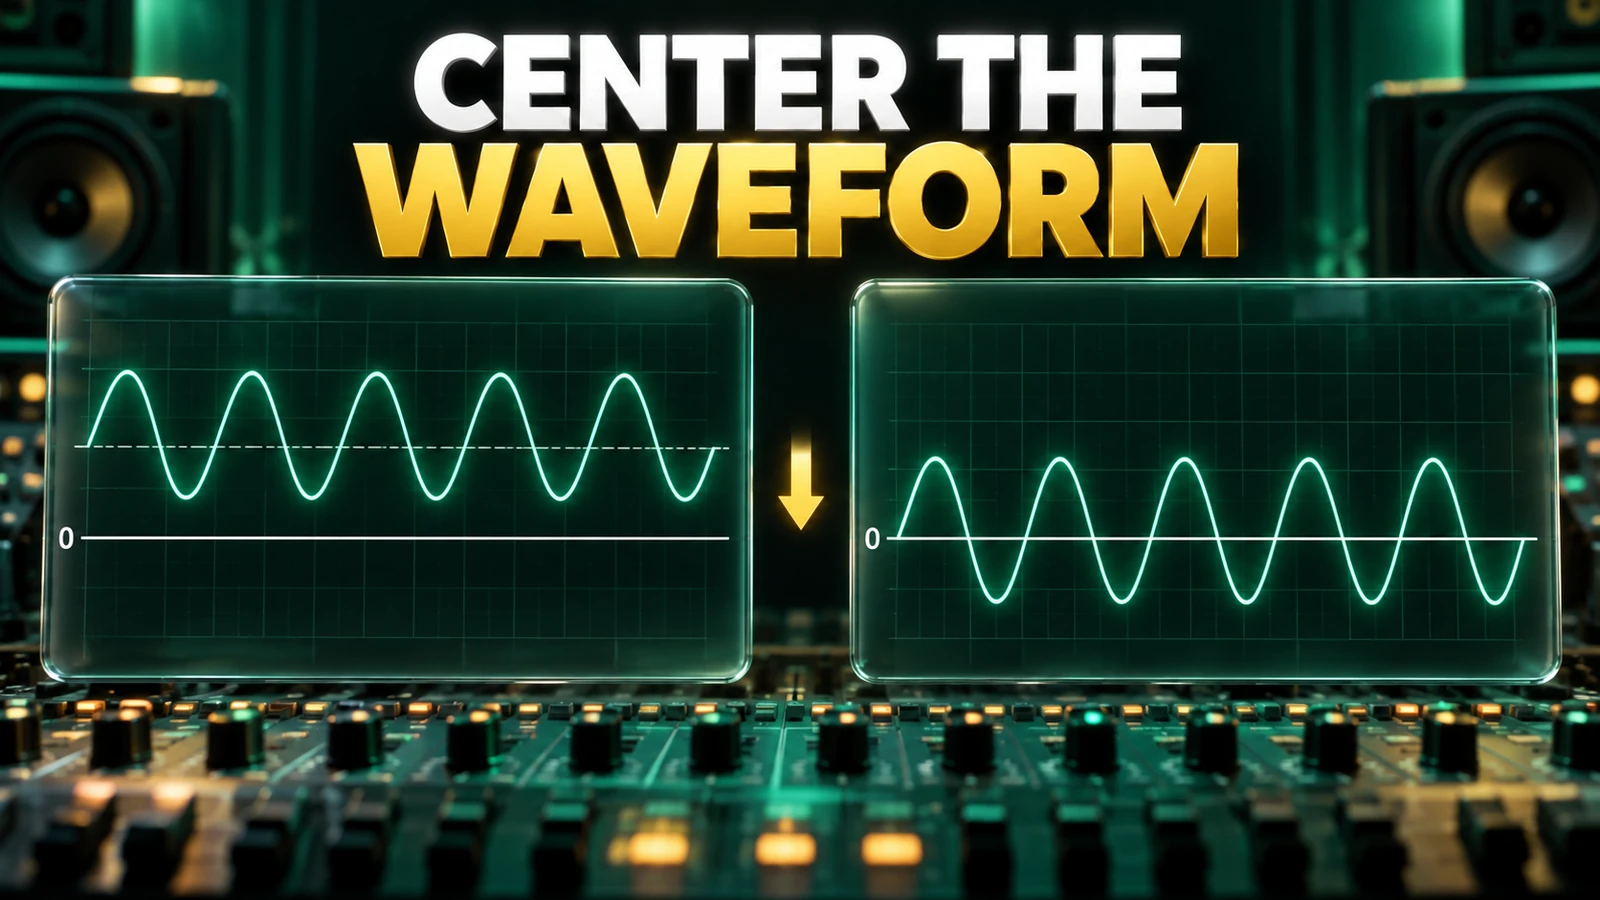
DC offset appears when an audio waveform is not centered on the 0.0 horizontal axis in Audacity’s default waveform view. This represents a consistent positive or negative shift in the signal’s mean amplitude. DC offset usually originates from a hardware issue - often a small fixed voltage creeping into the audio chain before analog signals are converted to digital data. Although many recordings have a minuscule or unnoticeable DC offset, poor or faulty audio interfaces can introduce larger, problematic shifts.
Even slight offset can introduce issues - such as lowered maximum audio volume, unexpected clicks during editing, or audible problems after applying certain effects or file compression. Crucially, before you start any editing or mastering, you should check your tracks for DC offset - even if you did not record them yourself. Correcting offset early helps prevent compounding audio quality problems later.
Spotting DC offset in Audacity 3
To determine if DC offset is present:
- Open your audio file in Audacity 3.
- Visually inspect the waveform: If the entire waveform appears to float above or below the zero line, rather than being centered, this indicates DC offset.
- For a more precise check, zoom in on a silent region or between song sections - any consistent non-zero baseline supports the suspicion.
- To confirm numerically, you can use the Plot Spectrum tool to verify an abnormal frequency spike at zero Hz (although this isn't always necessary for simple offset checks).
Leaving offset uncorrected can result in less efficient headroom for amplification, subtle distortion, and new clicks, especially at the start and end of audio clips.
Removing DC offset with Normalize
Audacity 3 provides an easy and effective solution for DC offset with its Normalize effect, using a dedicated checkbox to center the waveform. According to the Audacity manual, Normalize calculates and removes the mean offset to center the audio around zero.
- Select the track or region you wish to correct.
- Go to Effect > Normalize in the menu.
- In the dialog, ensure “Remove any DC offset (center on 0 vertically)” is checked.
- If you do not want to otherwise alter the loudness, uncheck "Normalize maximum amplitude."
- Click OK to apply.
This will shift the entire audio region to be mathematically centered vertically on the zero line, with no change to its dynamic range or loudness - unless you chose to normalize amplitude as well.
Example: DC offset correction in practice
Example: Imagine you record a voice memo using a budget USB interface and notice in Audacity that the waveform’s lowest points never reach zero, hovering instead around 0.1 even where silence is expected. Before editing the recording or applying any effects, you select the track, open the Normalize effect, check only the DC offset removal box, and click OK. Now the silence sits at zero, preventing clicks or headroom issues in later edits.
When DC offset removal may not be enough
DC offset removal isn't a cure-all. The Audacity manual notes two special situations where typical removal could be less effective or could even introduce new artifacts:
- If only part of the audio contains offset - perhaps spliced silence or a different section - removal may cause a new offset or a click at section boundaries.
- If the offset is not consistent (i.e., it drifts over time), it’s actually a slow low-frequency bias (“sub-sonic modulation”). In this case, a high-pass filter may be a more effective alternative to standard DC removal.
In such cases, isolate problem regions first: split the track before and after the affected area, then apply DC offset removal only where needed. When you need precision - especially splitting near non-silent parts - use Select > Region > Ends to Zero Crossings to avoid clicks when rejoining segments.
Checking your hardware and system settings
If you discover frequent or serious DC offset, locate the cause in your recording chain. On Windows systems, some sound device drivers offer DC offset cancellation options - they may be found by right-clicking the system tray speaker icon, accessing the recording device’s properties, and exploring the Enhancements tab (if present). If these hardware features are missing or ineffective, updating your drivers or swapping out defective gear may resolve long-term offset problems.
Related audio checks and further reading
Completing DC offset removal should come at the start of your editing workflow, before measuring peak levels or adjusting pitch or tempo. Removing offset does not restore original lost headroom or dynamic range; only addressing the hardware source can prevent future problems.
For more ways to shape your sound in Audacity without affecting DC offset handling, you might be interested in how to change a song’s pitch without altering amplitude baselines.
Practically verifying your fix
After running the Normalize effect, review the waveform in detail, especially between track sections and near silences. Audition playback to ensure no new clicks have appeared. For batch edits or large projects, always test the process on a small extract before applying to the full work.
Now that your waveform is properly centered, you’re ready to continue with any further audio edits - confident your track starts from a clean, balanced baseline.