Check Music Peak Levels with Audacity 3 Meters
At a glance
Audacity 3's playback meters offer visual feedback on audio peak levels and potential clipping while distinguishing measured peaks from your playback volume. Learn how to interpret the meter’s indicators, customize its style, and verify music loudness before exporting your project.
In this guide
- Understanding meter toolbars in Audacity 3
- Deciphering meter colors and indicator bands
- Peak level versus listening volume
- Checking for and understanding clipping
- Customizing the meter display for accurate assessment
- Best practices for checking music peak levels
- Further tips and reference checks
- Next steps: Investigate a small copy first
Understanding meter toolbars in Audacity 3
Audacity 3 includes two main meter toolbars: the Playback Meter (loudspeaker icon) and the Recording Meter (microphone icon). For checking the peak level of music during playback, you'll focus mainly on the Playback Meter. This toolbar displays the amplitude - or loudness - of your audio as it plays through the project, visually reflecting the combined mix of all your tracks. The meter does not assess codec quality, but instead offers accurate, real-time feedback about your audio's amplitude and possible overload issues, such as clipping. For official details, refer to the Audacity Meter Toolbar documentation.
Deciphering meter colors and indicator bands
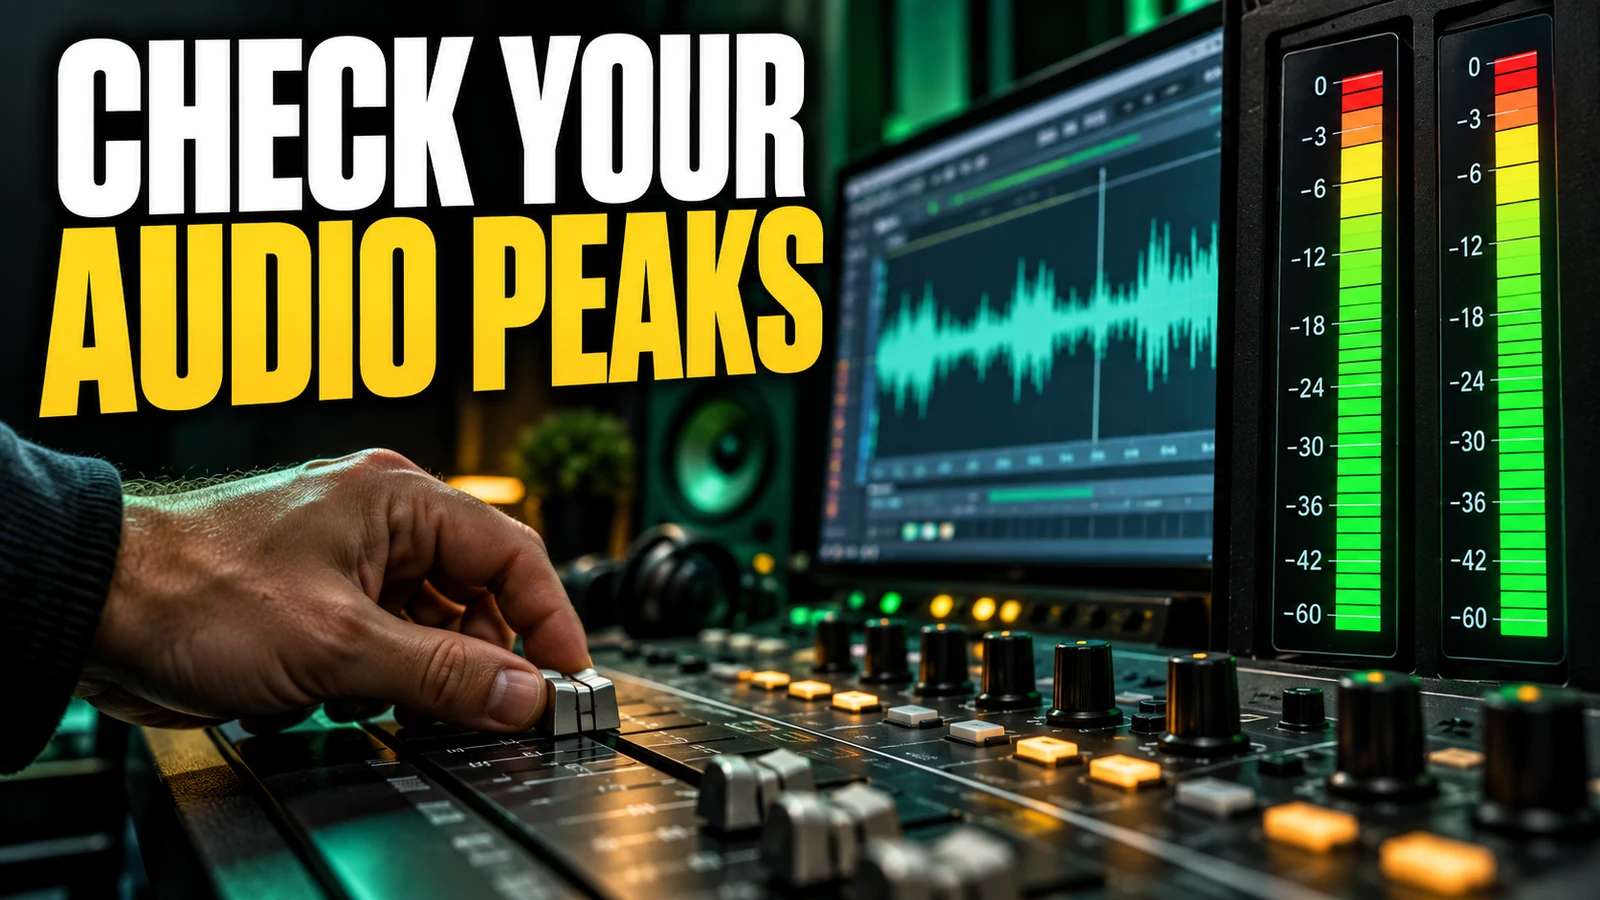
The Playback Meter uses colors and position of bars to communicate audio levels:
- Green bars: Safe levels, below -12 dB.
- Yellow bars: Approaching potentially high levels (-12 dB to -6 dB), but still generally safe.
- Red bars: The signal is near 0 dB and at risk of clipping.
Additional visual indicators provide detailed insight:
- CP (Current Peak Level): The end of the moving colored bar, showing your track’s highest instantaneous level right now.
- RP (Recent Peak Level): A static bar showing the highest peak hit in the last few seconds (disappears when stopped).
- MP (Maximum Peak Level): Blue bars showing the absolute loudest peak reached during the session (remains after playback stops until reset).
- Clip indicator: A static red bar at the meter’s extreme right means signals hit or exceeded the maximum digital level (four or more consecutive samples), which can cause audible distortion.
Peak level versus listening volume
It’s important to understand that the meter shows the amplitude of the audio as it would be exported or mixed, not the actual loudness delivered to your speakers or headphones. Moving the playback volume slider on the toolbar alters your listener experience but does not affect the amplitude shown in the meter nor the audio’s exported level. Peaks are measured in decibels relative to digital maximum (0 dB), offering a technical readout independent of your personal device or room volume settings. This distinction is essential when preparing tracks for distribution or broadcast, where actual file amplitude matters.
Checking for and understanding clipping
If during playback your peaks approach or reach 0 dB, the meter bars turn red and, if clipping is detected (four or more samples at/over the limit), a red static indicator appears at the right edge. This means some parts of your music have likely exceeded the maximum volume digital audio can represent - clipping. Clipping often results in unwanted distortion, though you will not always detect it just by listening at low volumes. Use the dedicated clip indicators as a reliable sign, and for precise location, try View > Show Clipping in Waveform or Analyze > Find Clipping in Audacity.
Example (fictional): Suppose you’ve mixed a dance track and notice occasional bursts into the red on the meter. After playback, the rightmost red bar stays lit. Even if you didn’t hear obvious distortion, this means your final export could contain clipped moments. To verify if this was momentary or persistent, you could enable Show Clipping in the waveform to pinpoint exactly where the levels exceeded digital limits.
Customizing the meter display for accurate assessment
Audacity allows flexible meter configuration:
- Access the meter menu: Click the loudspeaker icon or right-click the meter to open the drop-down menu.
- Select Options: Open the Meter Options dialog to adjust settings like style (Gradient or RMS), orientation (vertical or horizontal), and scale (dB/logarithmic or linear).
- Increase meter length: Dock or undock, then drag the resizer at the meter’s edge for a longer, more detailed display. A longer toolbar allows you to spot short loud bursts more easily by spreading out the indicator bars.
For those needing industry-compliant readings (for example, audiobook production), the RMS Meter mode can show both peak and average levels at once, making it easy to meet specified technical requirements.
Best practices for checking music peak levels
- Play back a short section of your project and examine the meter. Watch for peaks entering the red and for the appearance of the static red clip indicator.
- Look at maximum peak and recent peak bar positions, especially after louder sections, breakdowns, or where multiple tracks are active.
- If clipping is detected: Adjust individual track gain (not master volume) to reduce mix levels, then recheck.
- Consider normalizing audio, especially if you find peaks are too low or too high; see normalize loudness in Audacity 3 for details.
- Repeat playback after adjustments, observing meter response until no unwanted red peaks or static clip indicators remain.
Further tips and reference checks
- Confirmation via the Playback Meter is always recommended before exporting a music project, as this prevents releasing tracks with unintended distortion.
- If peaks remain low after checking, you can use "Effect > Amplify" or "Normalize" functions to reach the desired level - see our article on normalizing music loudness for step-by-step guidance.
- To correct unrelated audio flaws discovered during investigation, such as short digital clicks, refer to repairing short clicks in Audacity 3.
Next steps: Investigate a small copy first
For sensitive music files, try testing with a short exported section to verify settings and clipping indicators before performing changes on the full track. This approach lets you confirm the meter’s feedback matches your audio intent, without risking the original mix. Once satisfied, apply consistent adjustments throughout your project using the meter for ongoing verification. For technical background or other advanced options, consult the official Audacity Meter Toolbar guide.